
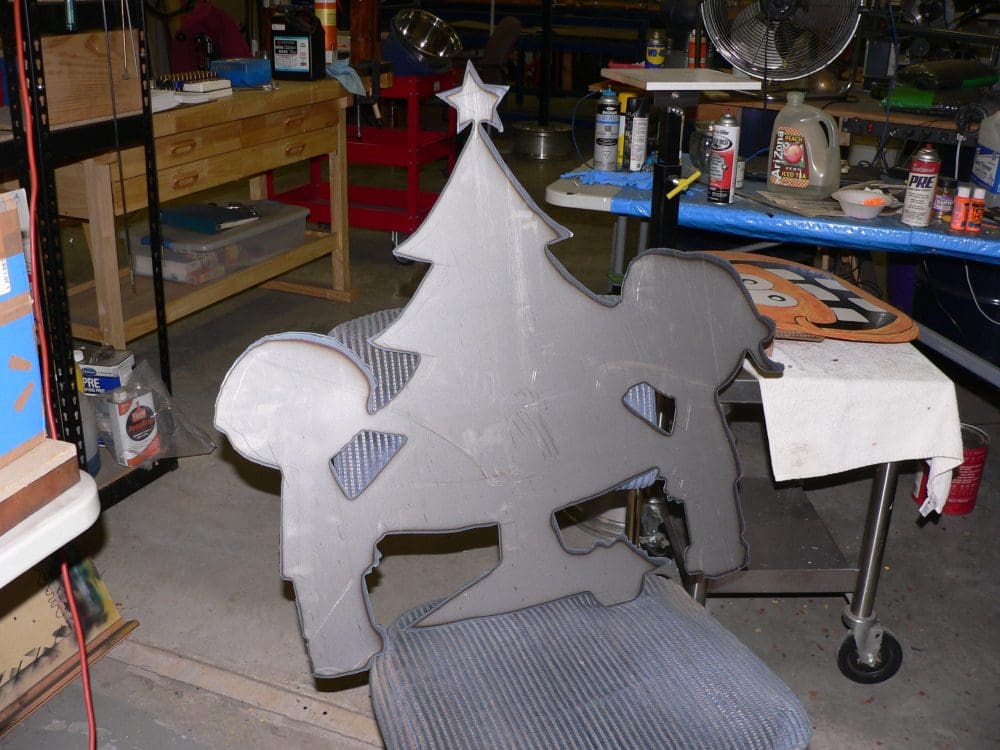
The mailbox decoration comes from an image we found on the net. My husband did his magic, writing code so that the computer recognizes the drawing and can replicate it. We cut it out with the computer-guided torch on the CNC table in the shop. The above is what the decoration looks like when we separate the cut part from the sheet of metal on the table.
My husband makes apiece that will allow us to bolt the decoration onto the mailbox and welds the two together.
We then attach the piece to a ‘holder’ so that we can use a transparency of the design and sharpies to mark the metal with the inner design so that I can paint it.

This is what the decoration looks like when it’s ready for me to paint. You can see where the attachment bar is welded onto the design across the bottom. I paint the back of the piece first so that I can work out any problems. The picture above is actually the front of the design. I finished painting the back a couple of days ago. I turned it over yesterday and “color blocked” the front. (I say “color blocked” because it looks really bad when I do the first coat. I’m mainly just marking where each color goes. The paint doesn’t stick well or show up well on the bare metal. On the first decoration we did, I almost gave up at this point because it looked so awful. Thank goodness I discovered that this is the way it is when one paints on metal.

This is the back of the piece I finished yesterday. I’ll work on the second coat on the front today, and then probably finish it up tomorrow.
